All levels
|
13 min 19 sec
|
13:19
|
Binding Tape vs. Bias Tape
How to Make Binding Tape
Ashley Nickels
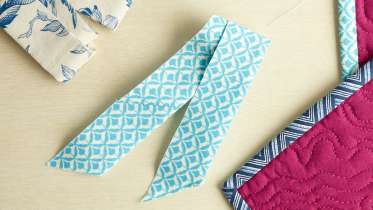
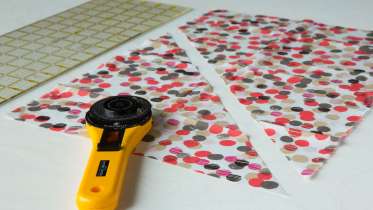
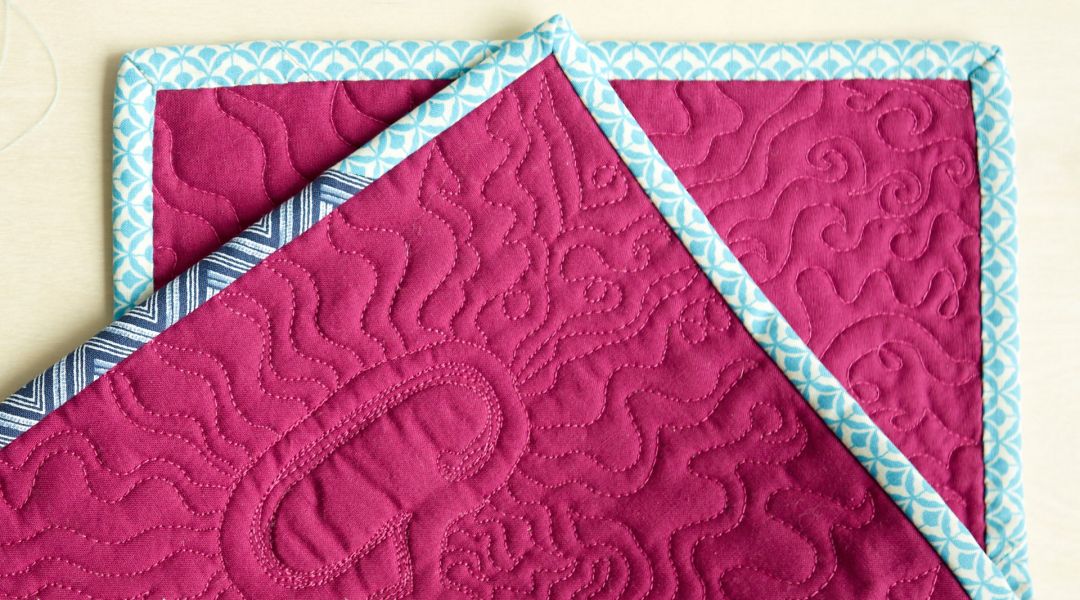
Custom-made binding tape adds a gorgeous finishing touch to your quilts, allowing you to play around with colors and prints. Binding tape is typically used to bind quilts and can be made with fabric that has been cut on the straight of grain. Ashley Nickels demonstrates how to create your own binding tape using any fabric you like and sew the strips together to create one long strip to go all around your quilt. Watch Ashley's class on attaching binding tape to find out how to sew it to your quilt.
How to Attach Binding Tape
Ashley Nickels
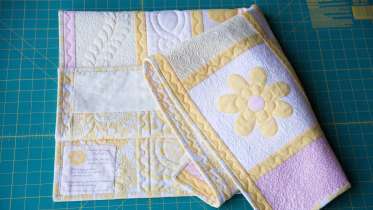
Quilting designer Ashley Nickels demonstrates the traditional method for attaching binding tape to a quilt — a fundamental technique every quilter needs to know. Step by step, you will learn how to pin the binding to the quilt sandwich, attach it using the walking foot on your sewing machine, create mitered corners, join the ends of the binding, and finish with a hand-sewn blind stitch. Watch Ashley's How to Make Binding Tape class for a quick lesson on how to make your binding strips and sew them together.
Quilt Finishing and Binding
Sue Nickels
Now that you have machine or hand quilted your quilt, it’s time to finish it. Sue shows you how to block and trim your quilt so you are working with a quilt that is square and lays perfectly flat. Then she shows you how to add straight double binding with mitered corners and join the binding for a clean join. Finish with a sleeve if you are going to hang your work, and add a label to document the date of your masterpiece.
How to Sew Potholders
Ashley Nickels
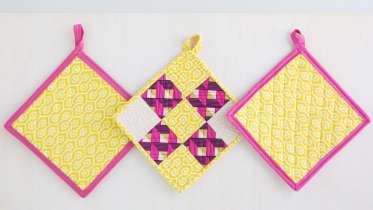
Dip your toe into the wild waters of quilting with these two simple potholder projects. Modern quilter Ashley Nickels shows you how to make a basic potholder using solid squares of fabric and pre-made bias tape, or a slightly more complex patchwork potholder using homemade binding tape. You will learn about basting, chain piecing and different styles of quilting, plus pro tips for attaching the binding.
Find Warp, Weft and Bias
Liza Lucy
Whether you are quilting or garment sewing, it’s essential to understand how a fabric’s grain line can affect the finished piece. In this super quick video, you’ll learn how to identify a fabric’s warp, weft and bias.
How to Make Bias Tape
Ashley Nickels
An essential part of any quilter or sewist’s arsenal, bias tape is helpful for creating stretchy, durable edges. Ashley Nickels demonstrates how to find the bias on ordinary quilting cotton, then how to cut, iron, and pin fabric to an edge. This snack-sized lesson packs lots of information into just five minutes.
Sew the Endless Summer Tunic
A Verb for Keeping Warm
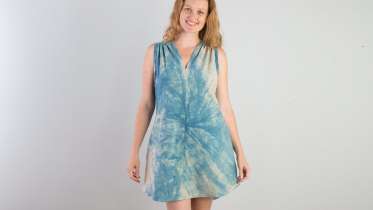
Learn how to sew A Verb for Keeping Warm’s most popular pattern: the Endless Summer Tunic. This flattering tunic will be a staple in your summer wardrobe and works just as well with layers in cooler seasons. The patternmaker, Tasa Gleason, walks you through the process of selecting fabric, determining your size, and working with pattern pieces to construct your garment. Learn professional finishing techniques and helpful tips along the way. Once you’ve made your first tunic, you’ll be scheming ways to make one for every month of the year.
Single Block Projects: Quilt Block Pillow
Ashley Nickels
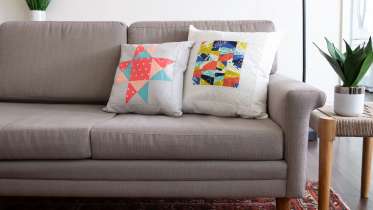
Wondering what to do with all of the gorgeous blocks in our Block of the Month series? Ashley Nickels shows how to expertly set any quilt block in a posh pillowcase, featuring sashing to frame the block and a hidden zipper. She demonstrates the technique using Carolyn Friedlander's Polk Block, but you can use any block you please to create custom pillows for your home.
How to Sew a Bias Facing
Liesl Gibson
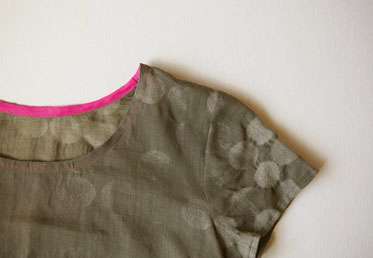
In this class, Liesl demonstrates how to finish garment edges with a bias-tape facing. Not only does Liesl show you how to cut fabric on the bias, but you’ll also learn how to create bias tape and attach it to a collar to make a smooth, perfectly finished edge. With careful pinning, ironing, and sewing, it's easy for anyone to create beautiful garments that look professional on the inside and out.
In this class, Liesl demonstrates how to finish garment edges with a bias-tape facing. Not only does Liesl show you how to cut fabric on the bias, but you’ll also learn how to create bias tape and attach it to a collar to make a smooth, perfectly finished edge. With careful pinning, ironing, and sewing, it's easy for anyone to create beautiful garments that look professional on the inside and out.
Learn how to:
What you’ll get:
- Finish garment edges with bias-tape facing
- Cut fabrics on the bias
- Create bias tape
- Attach a collar
What you’ll get:
- Detailed class by designer expert instructor Liesl Gibson on sewing a bias facing
- HD video lessons you can access online anytime, anywhere
- Step-by-step instruction and an itemized supply list
- The ability to leave comments, ask questions and interact with other students

Member Gallery
Browse members' projects from this class and share your own work! Learn how to take great photos here.
Load More
Transcript
How to Sew a Bias Facing Reviews
585 users recommended this class to a friend
Heather Barthell
Good explainer. Nice to see multiple fabrics used. Frankenbinding rules!
More than 3 months ago
Patricia Burns
Ashley is great at explaining how to attach the binding. I look forward to finishing many of my projects with this process. Thank you Ashley.
More than 3 months ago
melinda totten
you made it look so easy, and vary neat . thanks for this teaching. It was vary helpful .
More than 3 months ago


