
Intermediate
|
42 min 41 sec
|
00:33
|
|
01:06
|
|
03:57
|
|
02:37
|
|
07:32
|
|
04:31
|
|
11:10
|
|
06:39
|
|
04:36
|

Taught by Sue Nickels
Start Free Trial or
Buy For $29.95
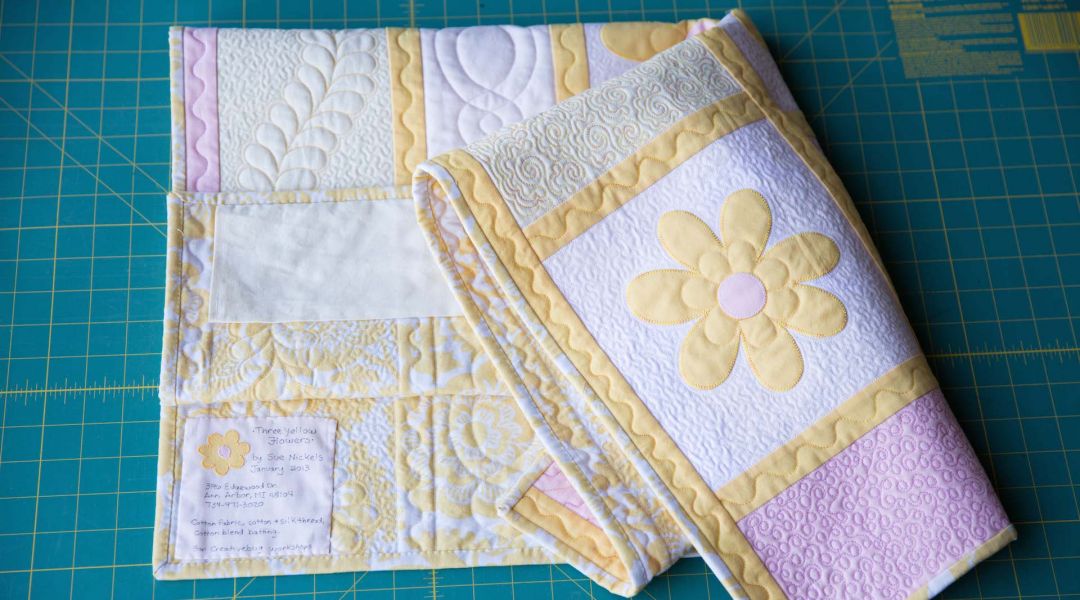
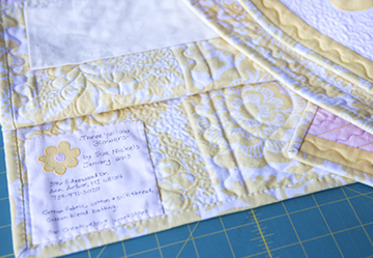
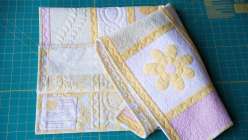
Now that you have machine or hand quilted your quilt, it’s time to finish it. Sue shows you how to block and trim your quilt so you are working with a quilt that is square and lays perfectly flat. Then she shows you how to add straight double binding with mitered corners and join the binding for a clean join. Finish with a sleeve if you are going to hang your work, and add a label to document the date of your masterpiece.
Learn how to:
What you’ll get:
Here’s what you’ll need:
Materials:
- Soft cotton to use as press cloth
- T-pins
- long tape measure
- spray bottle
- iron
- ironing board
- cutting mat
- long quilters ruler
- rotary cutter
- 1/3 yard binding fabric
- 1/4 yard for sleeve
- fabric scraps for label
- walking foot
- 1/4” foot
- hand sewing needle
- thimble
- fabric
- pins
- scratch paper and fine point permanent marker
- quilt project and sewing machine
Downloads:
- Making, attaching and finishing straight-grain binding
- Labeling the quilt
- Making a hanging sleeve
- Blocking and trimming finished quilt
What you’ll get:
- An easy-to-follow lesson on finishing and binding your quilt
- 8 HD video lessons you can access online anytime, anywhere
- Detailed supply list
- Step-by-step instruction by expert quilter Sue Nickels
- The ability to leave comments, ask questions and interact with other students
Member Gallery
Browse members' projects from this class and share your own work! Learn how to take great photos here.
Load More
Transcript
Class PDF
Quilt Finishing and Binding Reviews
390 users recommended this class to a friend

Heather Barthell
Helpful techniques throughout to create a neat, finished quilt. Sue enters a lot of shows and wins awards, so the finishing work is important.
More than 3 months ago
Ethel Williams
A great tutorial! Great visual and audio instructions.
More than 3 months ago
Elaine Buzzell
really good detailed information on finishing a quilt. my package instructions just said finish and bind quilt. not very helpful! This is great information. Do you print these instructions anywhere that I can refer back to?
More than 3 months ago
Related Classes