
All levels
|
4 min 58 sec
|
00:21
|
|
04:37
|

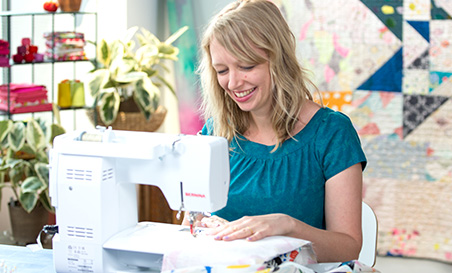
Taught by Heather Ross
Start Free Trial or
Buy For $3.95
Anyone who has sewed with commercial patterns or patterns “nested” in the back of a sewing book knows that once you cut out your size, it’s almost impossible to use the remaining patterns again. But not if you use this quick and easy method for transferring a pattern. Heather shows you how to make short work of the previously labor-intensive process of cutting your paper pattern, pinning it to your fabric and transferring the markings.
Learn how to:
What you’ll get:
Here’s what you’ll need:
Materials:
- carbon transfer paper
- chalk transfer paper
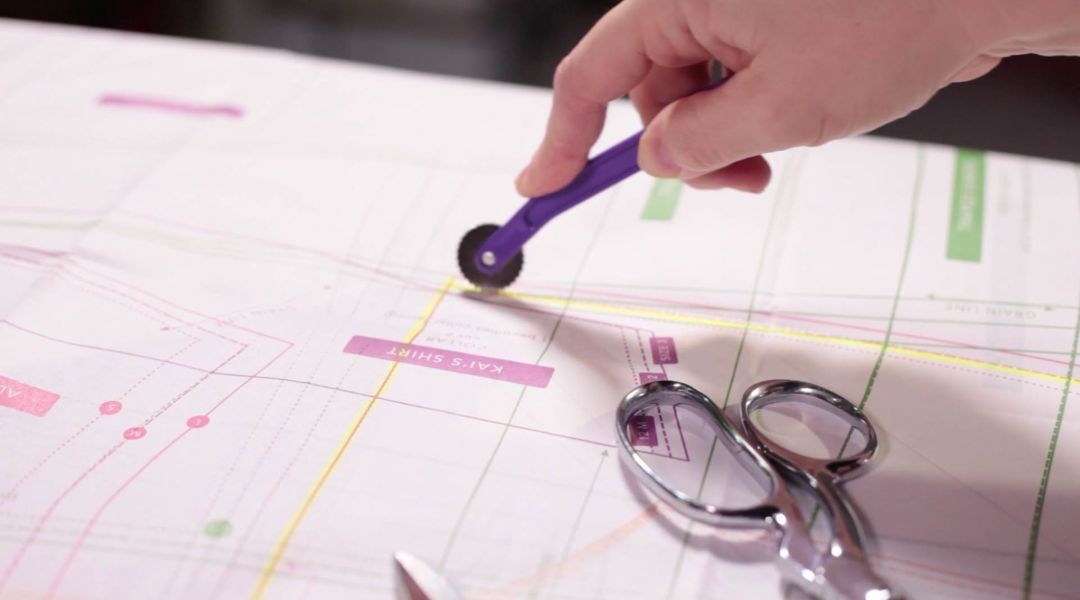
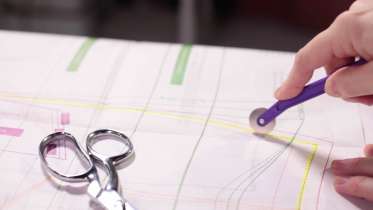
- tracing wheel
- disappearing ink pen
- bean bag weights
Downloads:
- Choosing transfer paper
- Using a tracing tool to transfer pattern to fabric
What you’ll get:
- An easy-to-follow lesson on how to transfer patterns to paper
- A quick HD video lesson you can access online anytime, anywhere
- Itemized supply list
- Step-by-step instruction by expert instructor Heather Ross
- The ability to leave comments, ask questions and interact with other students


Member Gallery
Browse members' projects from this class and share your own work! Learn how to take great photos here.
Load More
Transcript
Class PDF
Pattern Paper Transfer Reviews
434 users recommended this class to a friend

Jessica Thayer
great!!!!
More than 3 months ago
Rebecca Hoffman
Helpful and clear instructions. Very useful.
More than 3 months ago

Bridget Shoulders
Very quick and easy instructions.
More than 3 months ago
Related Classes