
All levels
|
33 min 59 sec
|
00:39
|
|
01:08
|
|
12:29
|
|
07:10
|
|
06:21
|
|
06:12
|

Taught by Annabel Wrigley
Start Free Trial or
Buy For $19.95
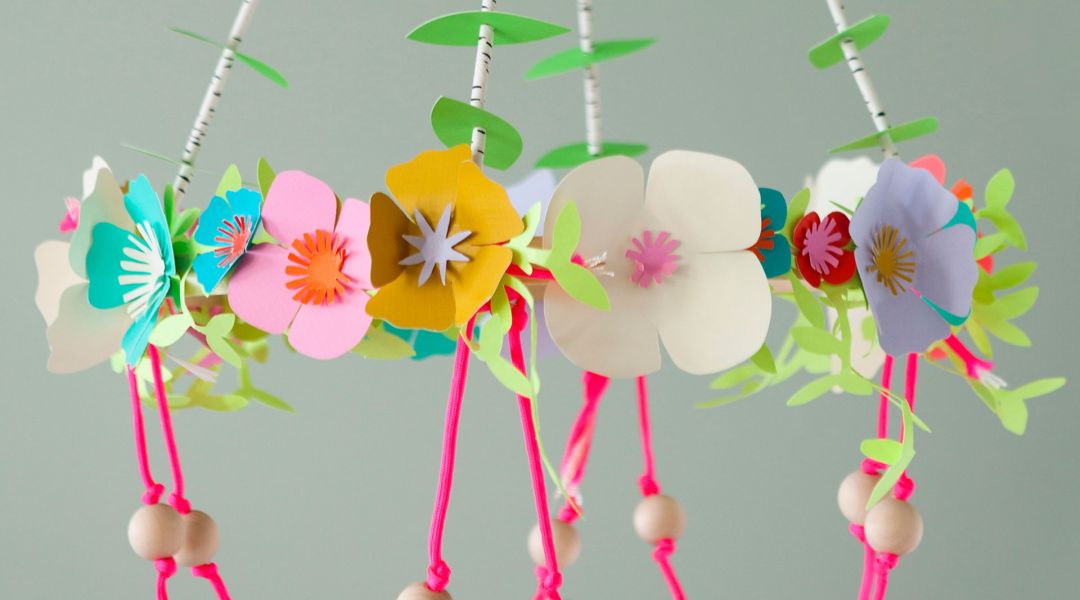
Make this bright, fun chandelier alongside Annabel Wrigley from Little Pincushion Studio. In this class, Annabel teaches you how to cut out all of the individual flowers and vines using a Cricut Explore machine. Once the pieces are cut out, it’s a cinch to assemble the flowers with hot glue and string them on neon paracord. Add a few fun extra elements, like wooden beads and decorative straws, to finish off the look and add dimension.
Learn how to:
What you’ll get:
Here’s what you’ll need:
Get the project design file on Cricut.com
- Cricut Explore machine
- Cricut Design Space software
- 12” x 12” LightGrip Cricut mat
- Cricut tools
- Computer
- 12” x 12” textured cardstock in a variety of colors (for flowers)
- 8 ½” x 11” cardstock in greens (for vines)
- Masking tape
- Small hole punch
- Scissors
- Tape measure
- Medium wooden beads
- Paper birch straws
- Low-heat hot glue gun
- Neon twine
- Neon paracord
- 14” embroidery hoop
Downloads:
- Cut paper using a Cricut Explore
- Assemble multi-layered paper flowers
- String all elements on twine and assemble chandelier
What you’ll get:
- Easy-to-follow class by author expert instructor Annabel Wrigley on making paper flower chandeliers
- 5 HD video lessons you can access online anytime, anywhere
- Step-by-step instruction and a detailed supply list
- The ability to leave comments, ask questions and interact with other students


Member Gallery
Browse members' projects from this class and share your own work! Learn how to take great photos here.
Load More
Transcript
Class PDF
Cricut Crafts: Paper Flower Chandelier Reviews
99 users recommended this class to a friend

Roseli Martin
Intermediates/Advanced as it does not show case where the project pictures were on the Cricut. I can see this craft as a princess tiara party and would not bother with the last bit of string with the wooden beads. Love this craft idea.
More than 3 months ago

skye frew
would like to try this out its on my craft bucket list thank you
More than 3 months ago
Paule Sult
Great class
More than 3 months ago
Related Classes