



All levels
|
13 min 10 sec
|
01:01
|
|
02:57
|
|
04:06
|
|
05:06
|

Taught by Liana Allday
Start Free Trial or
Buy For $9.95
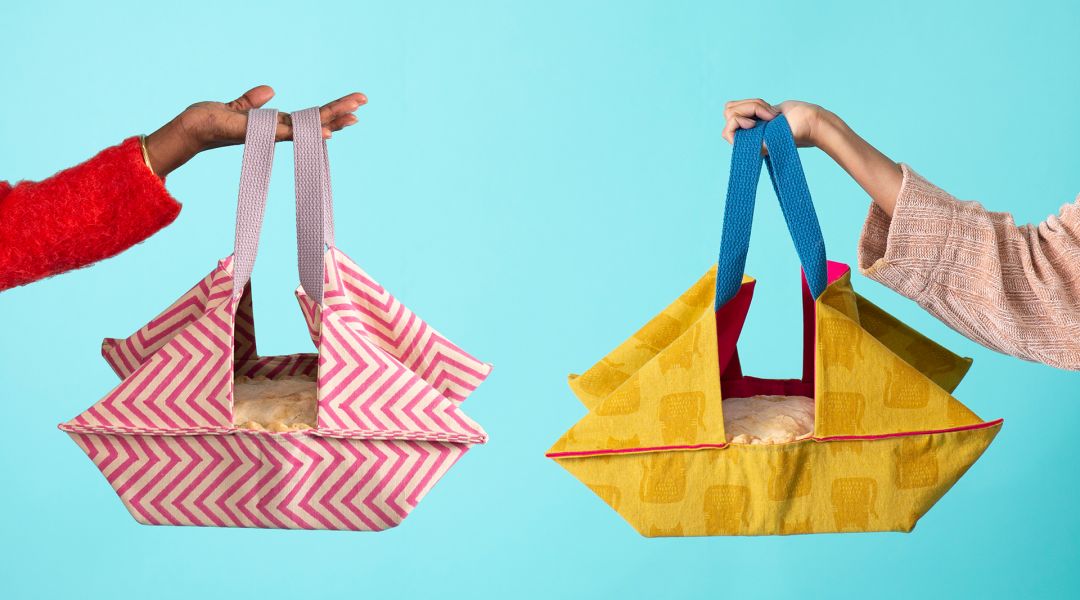
Make easy work of transporting your freshly baked pie with this simply stitched pie carrier. Sewist-with-a-sweet-tooth Liana Allday shows how two pieces of cotton fabric plus handy cotton webbing straps quickly come together to make a classy bag to tote your torte. Whether the pie carrier is for transporting your own desserts or as a gift to your favorite baker, this project comes together in less than an hour – just enough time to whip up something delicious.
Learn how to:
What you'll get:
Here’s what you’ll need:
- 2 rectangles of medium- to heavy-weight fabric 28" x 16 1/2”
- 2 pieces cotton webbing each 15” long
- Ruler or tape measure
- Pins
- Sewing machine with coordinating thread
Downloads:
- Attach cotton webbing straps
- Sew a double-layered pie carrier
What you'll get:
- An easy-to-follow video lesson on how to sew a pie carrier
- 4 HD video lessons you can access online anytime, anywhere
- Detailed supply list
- Step-by-step instructions by expert instructor, Liana Allday
- The ability to leave comments, ask questions and interact with other students



Member Gallery
Browse members' projects from this class and share your own work! Learn how to take great photos here.
Load More
Transcript
Class PDF
Sew a Pie Carrier Reviews
536 users recommended this class to a friend

Susan Tipre
This class is wonderful! Making pie is so much fun, but transporting it without dumping it on the ground/floor is no fun. This will make it sooooooooooooooooooooooooooooooo much easier to transport. I love it and wish I could give it more than 5 stars!
More than 3 months ago
Margaret Davis
Such an easy, uncomplicated way to make a carrier. Plus, it will be so fun to pick the fabric for the carrier and give as gifts to someone who may like to bake and/or starting out on their own. I will definitely make several.
More than 3 months ago

Karolyn Killian
easy instructions, can't wait to make it
More than 3 months ago
1
Related Classes