



CBTV
|
42 min 25 sec
|
42:25
|
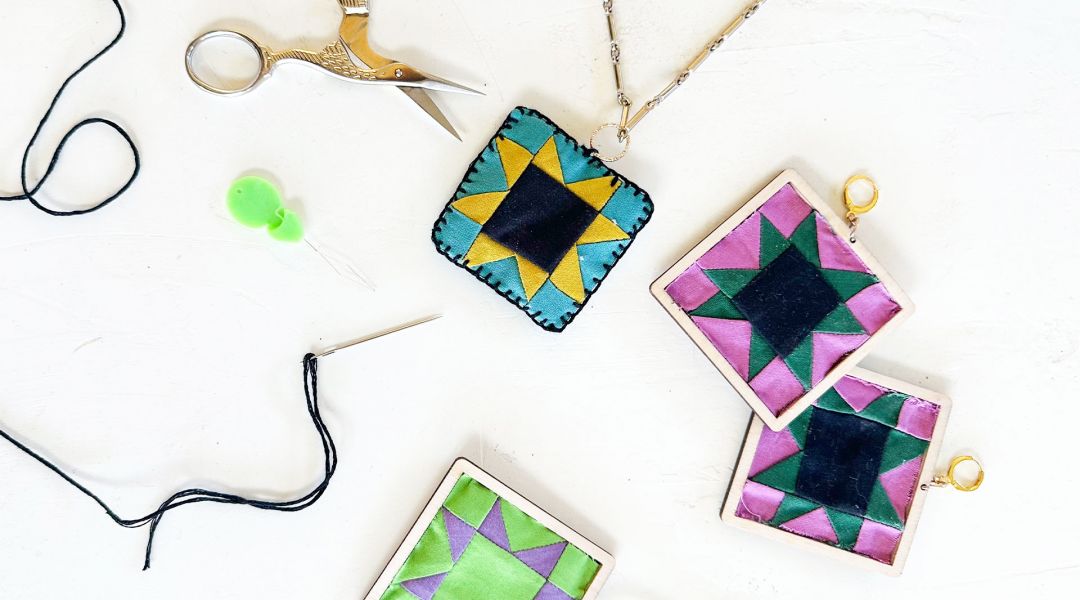
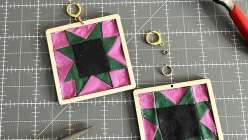
Transform your scraps into wearable art that say "I love to quilt and sew". In this live class, Sadie Metter and Meg Healy of Quilting Daily and Sew Daily demonstrate how to make mini quilt blocks that can be used to make accessories like earrings, necklaces, and charms. They cover two different methods in this creative session including using a paper foundation pieced pattern as well as an In-the-Hoop machine embroidery design, all applicable downloads included.
Note: Embroidery design files are not one-size-fits-all—each file type is created specifically for different brands and models of embroidery machines. That’s why you’ll often see multiple file extensions included with a design, such as .PES, .EXP, .VP3, .JEF, .DST, and more. These formats ensure compatibility so your machine can properly read the stitch data, thread colors, and design details. Before stitching, be sure to select the file type that matches your specific machine brand. For example, Brother and Baby Lock machines commonly use .PES, Janome uses .JEF, Bernina uses .EXP, Husqvarna Viking and Pfaff use. HUS, .VP3 or .VP4, and commercial machines often use .DST. Be sure to check your manual. Using the correct format helps ensure your design loads correctly and stitches out just as intended.
Note: Embroidery design files are not one-size-fits-all—each file type is created specifically for different brands and models of embroidery machines. That’s why you’ll often see multiple file extensions included with a design, such as .PES, .EXP, .VP3, .JEF, .DST, and more. These formats ensure compatibility so your machine can properly read the stitch data, thread colors, and design details. Before stitching, be sure to select the file type that matches your specific machine brand. For example, Brother and Baby Lock machines commonly use .PES, Janome uses .JEF, Bernina uses .EXP, Husqvarna Viking and Pfaff use. HUS, .VP3 or .VP4, and commercial machines often use .DST. Be sure to check your manual. Using the correct format helps ensure your design loads correctly and stitches out just as intended.
Here’s what you’ll need:
- Embroidery machine with the ability to import external design files
- Quilt Block In-the-Hoop Embroidery Files
- 120mm x 120mm hoop
- Small piece of sticky self-adhesive tear away embroidery stabilizer
- Small piece (4” x 4”) of front fabric
- Small piece (4” x 4”) of backing fabric - this can also be the same of the front fabric
- Embroidery thread
- Size 90/14 machine embroidery needle
- Duckbill scissors
- Embroidery scissors
- Tape
- Scissors or rotary cutter
- Earring posts with backings
- Super glue or fabric glue
- Foundation Paper Pieced Earring/Charm
- Printable Foundation Piece Template
- Various small fabric scraps
- Two 2" squares of batting for earrings
- 2 " Wood bezel frames - optional, available here
- Jump rings
- Ear hooks
- Embroidery floss
- Craft Glue
- Scissors or rotary cutter
Downloads:
Member Gallery
Browse members' projects from this class and share your own work! Learn how to take great photos here.
Load More
Transcript
Class PDF
Crafting Together: Quilted Runway Accessories with Sadie and Meg Reviews
8 users recommended this class to a friend

Creaky Susan
I don't have an embroidery sewing machine so I can't comment on that segment. As far as the paper foundation instruction, I learned that attempting this as a first try of paper foundation piecing (FPP) was a mistake for me. Doing this with such small fabric scraps proved to be too awkward for me. I did find other tutorials of FPP that used larger scraps and more precision of the folding back and trimming to 1/4 inch not requiring ironing along the way more achievable. I'd suggest a class for beginners introducing FPP. Still, I thank you for introducing me to what FPP is.
4 hours ago

Tedi Patterson
More than 3 months ago

Roseli Martin
I'm a jewelry designer and I absolutely loved the idea of incorporating my jewelry designer skills together with my sewing/embroidery machine. Will definitely give this a try in the future.
More than 3 months ago
Related Classes