
Intermediate
|
38 min 25 sec
|
00:50
|
|
01:57
|
|
01:21
|
|
03:18
|
|
05:28
|
|
12:41
|
|
12:50
|

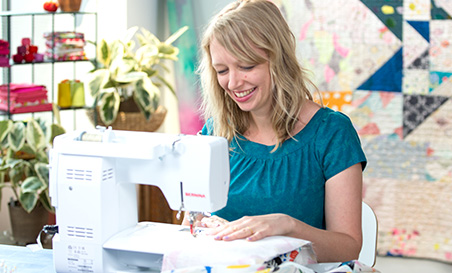
Taught by Amy Butler
Start Free Trial or
Buy For $19.95
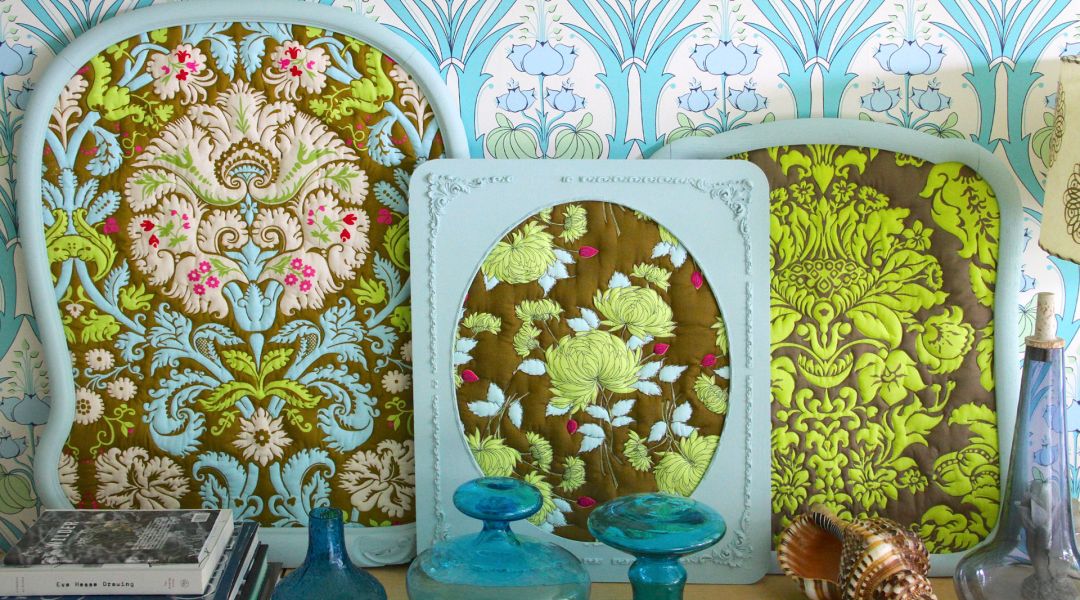
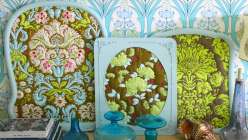
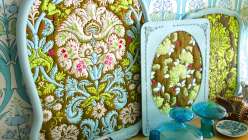
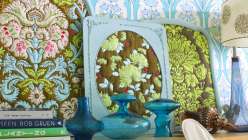
Create a textural piece of fabric art while you also learn the mechanics of machine quilting. This project covers all the aspects of machine quilting but on a smaller scale. Amy talks you through what prints work well for this project and how to emphasize different elements and motifs in your fabric through your design decisions. She even covers how to refinish vintage frames. The finished project showcases beautiful print fabrics while refining your quilting skills.
Learn how to:
What you’ll get:
Here’s what you’ll need:
Materials:
- Empty frame (vintage or new)
- fabric (Amy uses her own floral fabrics from Belle by Westminster Fabrics) batting (Amy uses two layers of high loft batting) and backing fabric (Amy uses muslin) that is 8-10" larger on each side of your chosen frame
- craft knife
- fabric marker
- rotary cutter and mat
- staple gun and staples
- sewing machine with a stippling foot and walking foot
- handful of safety pins
- invisible thread
- measuring tape
- super fine sand paper
- scissors
- four bottle caps
- spray paint primer (Amy uses Kilz Original Primer)
- spray paint if your color of choice (Amy uses a sky blue)
- spray adhesive
Downloads:
- Refinish a vintage frame
- Use a open toe quilting foot
- Use a walking foot
What you’ll get:
- An easy-to-follow class on how to make quilted wall art
- 6 HD video lessons you can access online anytime, anywhere
- Detailed supply list
- Step-by-step expert instruction from artist and designer Amy Butler
- The ability to leave comments, ask questions and interact with other students
Member Gallery
Browse members' projects from this class and share your own work! Learn how to take great photos here.
Load More
Transcript
Class PDF
Quilted Wall Art Reviews
139 users recommended this class to a friend

Nadège GUILLAUMAT
Très joli ! Il suffit de se lancer.
More than 3 months ago
Tana Linge
The project is very original!
More than 3 months ago

Lexi P
Shows good example of beginning quilting. Mostly watching. Would like to hear more description along the way for non visual instruction. Pretty project.
More than 3 months ago
Related Classes