
All levels
|
11 min 58 sec
|
00:27
|
|
02:11
|
|
03:07
|
|
03:19
|
|
02:54
|

Taught by Courtney Cerruti
Start Free Trial or
Buy For $9.95
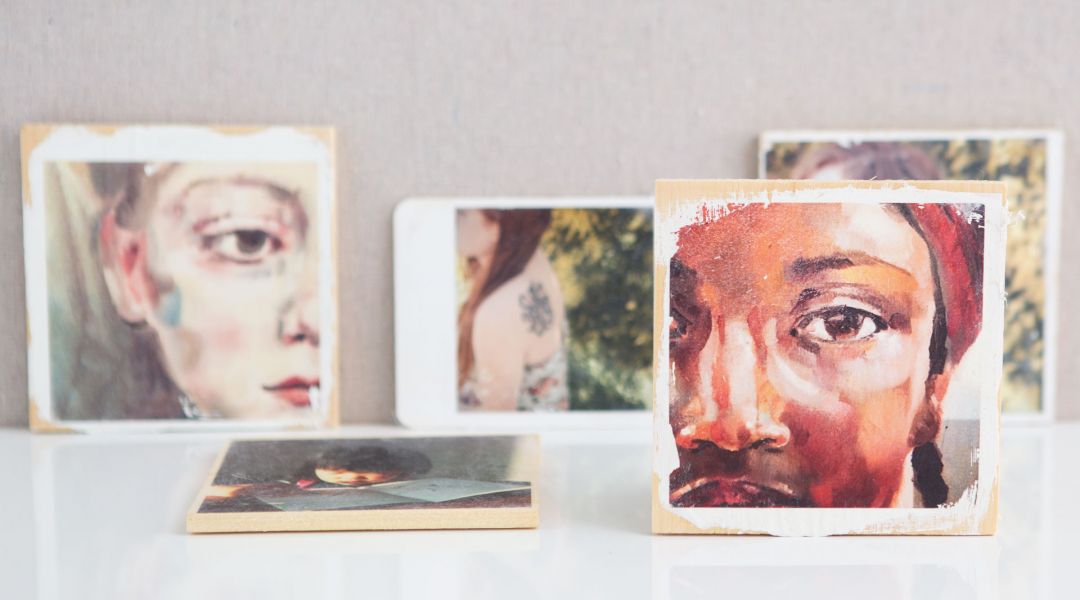
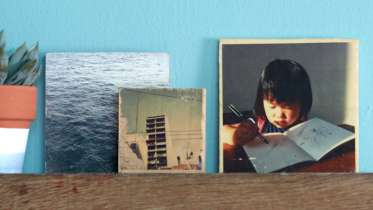
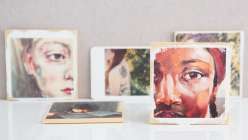
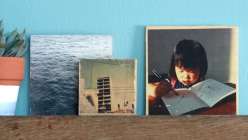
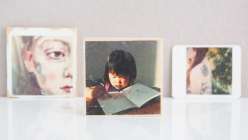
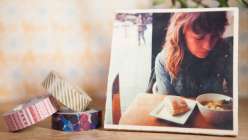
Turn those small, intimate moments from life into a permanent treasure by transferring them onto wood. Working with photos printed out on laser copies, Courtney Cerruti shows you how to create the transfers, offering a few different finishing techniques to customize your miniature works of art. The wood adds luminosity and brings out the beautiful, muted colors in your photograph. Learn more about laser copies here.
Learn how to:
Here’s what you’ll need:
Materials:
- Smooth piece of wood
- color laser photocopy trimmed to fit wood
- gel medium
- burnishing tool (popsicle stick or credit card)
- standard glue brush
- sponge and water
- paper towel or tea towel
- small amount of oil
Downloads:
- Choose color images for transfers
- Work with gel medium
- Create a photo transfer
- Finishing techniques
- An easy-to-follow lesson on how to transfer your favorite images onto wooden surfaces
- 4 HD video lessons you can access online anytime, anywhere
- Detailed supply list
- Step-by-step instruction by artist Courtney Cerruti
- The ability to leave comments, ask questions and interact with other students

Member Gallery
Browse members' projects from this class and share your own work! Learn how to take great photos here.
Load More
Transcript
Class PDF
Color Image Transfers on Wood Reviews
1172 users recommended this class to a friend

Jordanan Curtis
Excellent class! Looking forward to applying what I've learned at the public library where I work for programs with middle and high school students as well as for family gifts.
July 11, 2026
Lynne Cacciola
Love this class! The process was explained in a clear and easy-to-understand manner, accompanied by numerous helpful tips to ensure the final piece looks its best. Great way to turn everyday pics into art you can share and save for years to come. I highly recommend this class.
More than 3 months ago
g...@cox.net
Thank you this looks like such a fun project to do, can't wait to try!
More than 3 months ago
Related Classes