Intermediate
|
29 min 13 sec
|
01:00
|
|
01:26
|
|
10:45
|
|
04:27
|
|
11:35
|
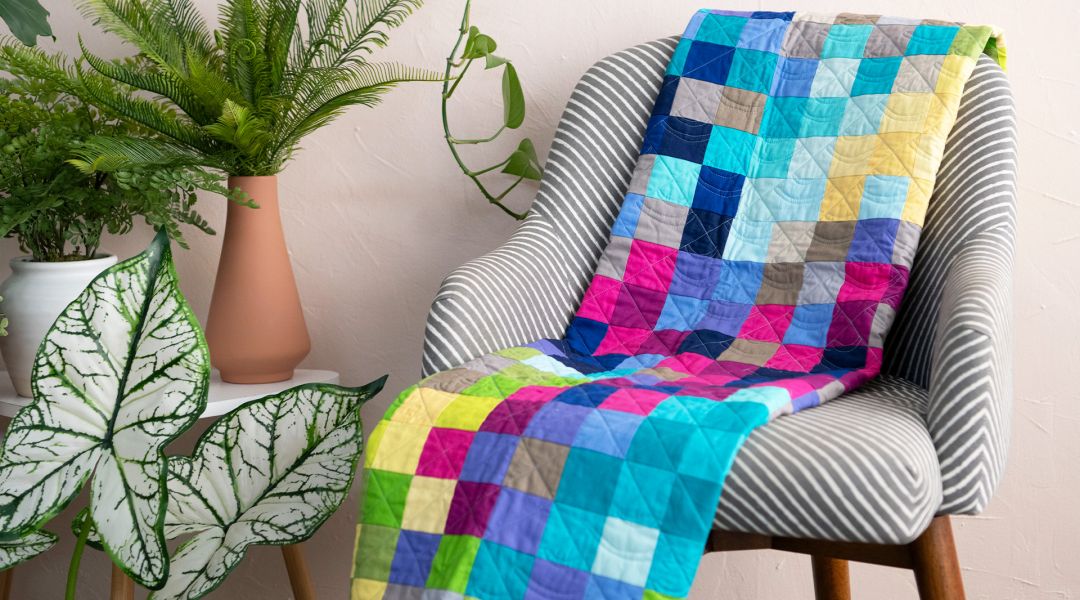
Ashley Nickels shares a simple, modern approach to designing your own pixelated jelly roll quilt top, with lots of time-saving tricks built into the process. You will learn how to lay out your quilt on a design wall, and then chain-piece the squares without having to pin or clip. Best of all, there’s no ironing until the very end, so you can speed through the piecing process in a flash. Ashley demonstrates this process on a crib-sized quilt top, but it’s easy to make this quilt smaller or larger—after all, you’re the designer.
Learn how to:
Here’s what you’ll need:
- Michael Miller Top 40 Solid Jelly Roll (choose at least 25 colors for this quilt)
- Rotary cutter
- Clear quilting ruler
- Cutting mat
- Iron
- Ironing surface
- Snips
- Sewing machine with ¼” foot
- 100% cotton thread (Ashley uses a light color)
- Felted material for design wall (Ashley uses the felted back-side of a plastic tablecloth)
Downloads:
- Perfectly cut jelly roll strips into 2 ½ inch squares
- Create a design wall
- Design a quilt top using your design wall
- Find the cross grain in fabric squares
- Transfer your fabric squares from the design wall to the sewing machine
- Construct a quilt top using the chain-piecing method
- Nestle your seams together to decrease bulkiness in your quilt top
- Detailed lesson on how to design your own pixelated jelly roll quilt
- 3 HD video lessons you can access online anytime, anywhere
- Detailed supplies list
- Step-by-step expert instruction from Ashley Nickels
- The ability the leave comments, ask questions, and interact with other students


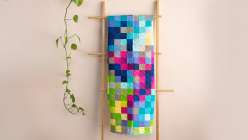
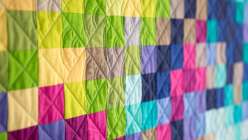
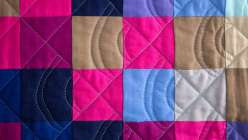
Member Gallery
Browse members' projects from this class and share your own work! Learn how to take great photos here.
Load More
Perfectly Pixelated Jelly Roll Quilt Reviews
397 users recommended this class to a friend
Robin Smith
This video has easy to follow instructions and the presenter is very clear about each step.
More than 3 months ago


