Home
Make a Leather Card Holder

Beginner
|
0 seconds
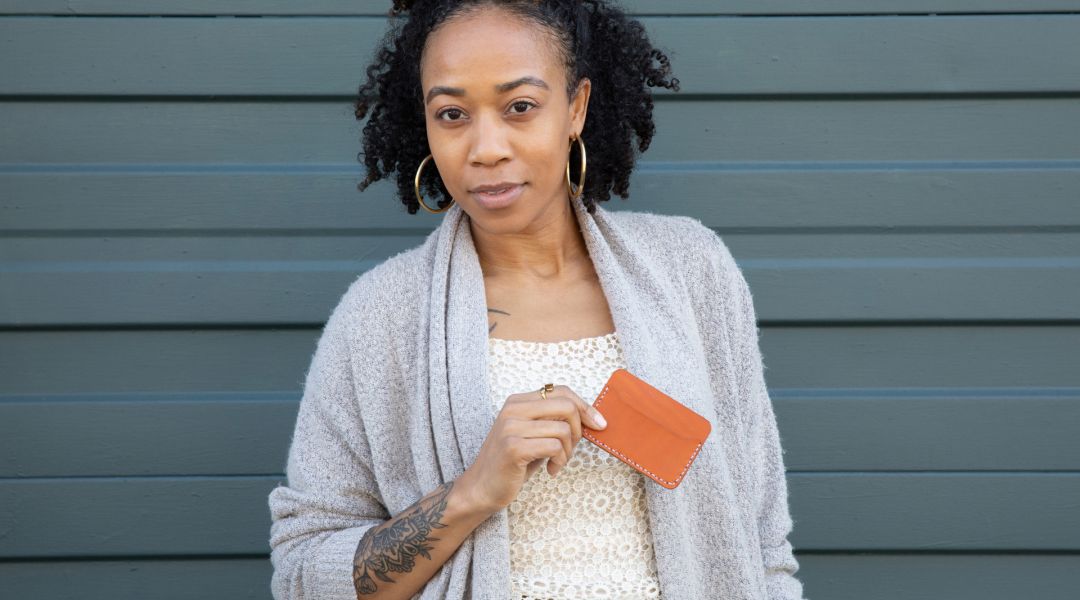
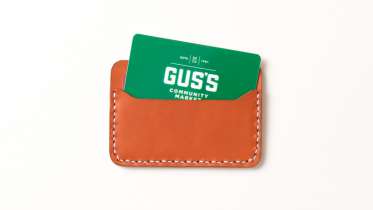
If you've ever been curious about working with leather, this stylishly simple card wallet is a fabulous place to begin. Treasure is the owner and designer of Nikki&Mallory, an artisan-made collection of bohemian-inspired leather handbags, accessories, and home décor. In this class she takes you through the entire process of preparing and sewing leather, from sourcing it, to cutting it, to sewing it together by hand. She also demonstrates how to smooth and dye the edges of the leather for a beautiful and professional finish. Discover a fun array of tools and techniques while making the perfect gift for your friends, family, and yourself.
Learn how to:
Here’s what you’ll need:
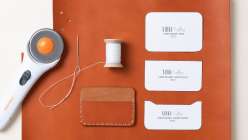
- 11" x 6" 2-3 oz. lightweight veg tanned leather or faux leather, polyurethane (PU), or vegan leather
- Stitch groover
- Rotary cutter and cutting surface
- Ruler
- Pencil
- Edge Kote
- Edge dye roller pen
- Pounding board
- Mallet
- Punch or 3mm or 4mm chisel
- Large harness needle
- 0.6 Tiger thread
- 1/8" double-sided tape for leather
- Emory board
- Gum Tragacanth
- Wool daubers
- Leather edge burnisher
- 4mm chisels
- Pound board or thick wood block
- Poly cutting board
- Quartz or marble slab
- Leather and supplies can be purchased at WeaverLeather.com, Wicket-Craig.com, and RMLeatherSupply.com
Downloads:
- Make a small leather card wallet
- Sew leather by hand
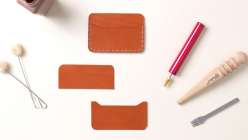
- Cut leather pieces using a paper template
- Use leather chisels
- Punch holes in leather to prepare for stitching
- Burnish and dye leather edges for a finished look


Member Gallery
Browse members' projects from this class and share your own work! Learn how to take great photos here.
Load More
Transcript
Class PDF
Make a Leather Card Holder Reviews
0 users recommended this class to a friend


