Intermediate
|
1 hour 28 min
|
01:03
|
|
00:52
|
|
02:10
|
|
38:56
|
|
03:18
|
|
04:49
|
|
02:16
|
|
05:38
|
|
14:15
|
|
04:05
|
|
10:50
|
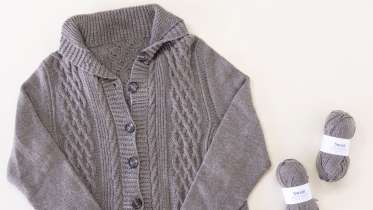
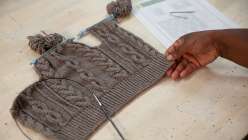
Knit a timeless cabled sweater with designer, technical editor, and author Tian Connaughton. The beautiful Freeport Cardigan is worked from the bottom up, which is one of Tian's favorite sweater constructions because there is very little seaming. Begin knitting with the back piece, split for the front pieces, and then pick up stitches for the sleeves. Tian teaches you how to knit cables with a cable needle and without, as well as other essential techniques including a three-needle bind off, a twisted rib stitch, how to knit buttonholes, and how to work in short rows for shaping. You will love the Freeport's gorgeous textures along with its elongated collar that drapes behind you like a cozy capelet.
Here’s what you’ll need:
- Finished Measurements - 32 (36, 39.5, 43, 47, 50.50)" finished bust circumference, buttoned. Garment is meant to be worn with 2-4" of positive ease. Each size may be increased up to 1" by placing buttons closer to BO edge.
- Yarn - We Crochet Swish Worsted in Squirrel Heather 24090 - 11 (12, 13, 14, 15, 15) balls
- Needles - US 6 (4.0mm) 32" circular needles and DPNs or longer needles for magic loop, or size to obtain gauge, for Body and Sleeves.
- US 5 (3.75mm) 32" circular needles and DPNs or longer needles for magic loop, or one size smaller than gauge needles, for ribbing.
- 9 (9, 10, 10, 11, 11) buttons, 0.5" diameter
- Stitch markers
- Tapestry needle
- Scissors
- Measuring tape
- Blocking materials including spray bottle, pins, blocking surface, and towels
- Stitch holders (optional)
- Cable needle (optional)
Downloads:



Member Gallery
Browse members' projects from this class and share your own work! Learn how to take great photos here.
Load More
Knit the Freeport Cardigan Reviews
7 users recommended this class to a friend
Jessie McCrary
So great to watch her complete all the steps for this cardigan, extremely helpful and a relaxing watch.
More than 3 months ago
3


