
All levels
|
42 min 57 sec
|
00:46
|
|
01:32
|
|
03:39
|
|
10:47
|
|
14:44
|
|
03:10
|
|
08:19
|

Taught by Michele Muska
Start Free Trial or
Buy For $29.95
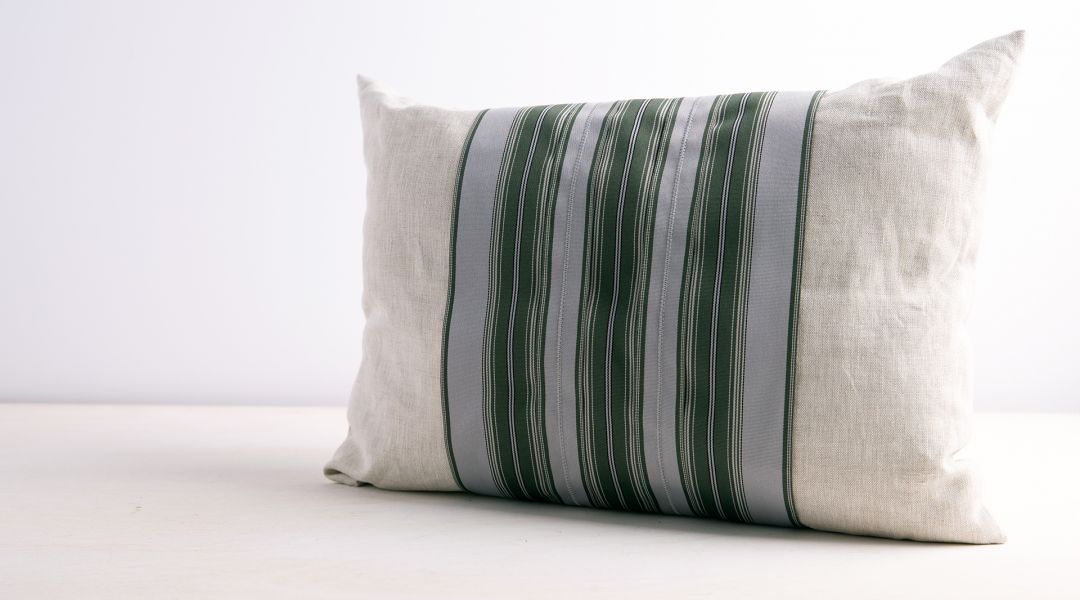
Not only can a lumbar pillow add a quintessential pop of color to your home, but it’s also a handy tool for learning an array of sewing techniques. In this class, Michele Muska shows you how to make your own pillow form in order to optimize customization and sew a cover with an invisible zipper. Then, you’ll work with interesting fabrics and materials like grosgrain ribbon, suede, cork, vinyl, and hook-and-loop-tape to create unique and removable belly-bands.
Learn how to:
What you'll get:
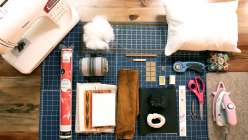
Here’s what you’ll need:
- For one pillow form: 2 pieces of lightweight cotton or other material, 12 1/2” x 16 1/2" each, plus stuffing (or opt to use store-bought pillow form 12" x 16")
- 1/4 yd main fabric (Michele uses patterned cotton)
- 1/4 yd lining fabric
- 1/2 yd linen
- 1/4 yd fusible stabilizer (Michele uses Heat Bond)
- 14" invisible zipper
- 3 pieces of 4" wide grosgrain ribbon, each 31" long
- 2 pieces of thin, pliable leather or suede, 2 1/4” x 28" each
- 2 yds piping (filler cord)
- 1/4 yd hook and loop tape
- 1 piece of vinyl with fleece backing, cut to 9" x 26"
- Cork fabric with fleece backing cut to 2" x 26"
- Velcro
- Seam ripper
- Marking pencil
- Fabric shears
- Snips
- Rotary cutter
- Large format acrylic ruler
- Sewing machine and coordinating thread
- Topstich #16 sewing machine needle or jeans needle
- Invisible zipper foot or regular zipper foot
- Iron and ironing surface
- Measurements for pillows and belly bands:
Piped Belly Band: - 12" x 16" pillow form
- 2 pieces of thin, pliable leather or suede, 2 1/4” x 28" each
- 6 1/2" x 27" piece patterned cotton (use 6 1/2" x 27" pieces of cotton fabric, fusible layer, and lining fabric in a sandwich as shown in video.)
- 2 yards piping or filler cord
- Adhesive velcro: four 1" square pieces or one 3/4" by 5 1/2" strip
- Vinyl and Cork Belly Band:
- 12" x 16" pillow form
- 9" x 26" textured vinyl with fleece backing
- 2" x 26" cork fabric with fleece backing
- 3/4" by 8 3/4" adhesive velcro
- Ribbon Belly Band:
- 14" x 20" pillow form (you can make this with two 14 1/2" x 20 1/2" pieces of fabric, with a 14" invisible zipper, and follow the Pillow Form video)
- 3 pieces of 4" wide grosgrain ribbon, each 31" long
Downloads:
- Make your own pillow form
- Install an invisible zipper
- Sew with vinyl, suede and cork
What you'll get:
- A 5-part series of easy-to-follow video lessons on how to sew a customized lumbar pillow with 3 decorative options
- 7 HD video lessons you can access online anytime, anywhere
- Detailed supply list
- Step-by-step instructions by expert sewist Michele Muska
- The ability to leave comments, ask questions and interact with other students


Member Gallery
Browse members' projects from this class and share your own work! Learn how to take great photos here.
Load More
Sew a Lumbar Pillow Reviews
77 users recommended this class to a friend

Nieves Rivas
I need a bit more detail on how to finish the ends of the invisible zipper with a closer camera view. Otherwise the video was EXCELLENT!!! Thank you very much, Michele Muska.
More than 3 months ago
Betty LaBreck
this video is very helpful and great I love it. I highly recommend this video to all. thank you for taking the time in this video. I really appreciate all your time.
More than 3 months ago

Jenn N
The instructor was clearly very knowledgeable but it seemed at times like she had forgotten what it was like not to have that much skill / knowledge in your background. There were times she did things that either didn't make any sense or it took me working it out in my head why she did them. Like when she kept picking up the presser foot and flipping the foot when sewing the grosgrain ribbon band. I figured out after the first couple of times that she was trying to keep the foot from getting caught in the exposed seams, but she never said that or if she did, she didn't make enough of a point of it for me to notice. She said to pull the cord out of the piping but never said how much to pull out. I think she had some great information, I just don't think she explained everything very well.
More than 3 months ago
Related Classes