All levels
|
5 min 19 sec
|
00:24
|
|
00:22
|
|
04:33
|
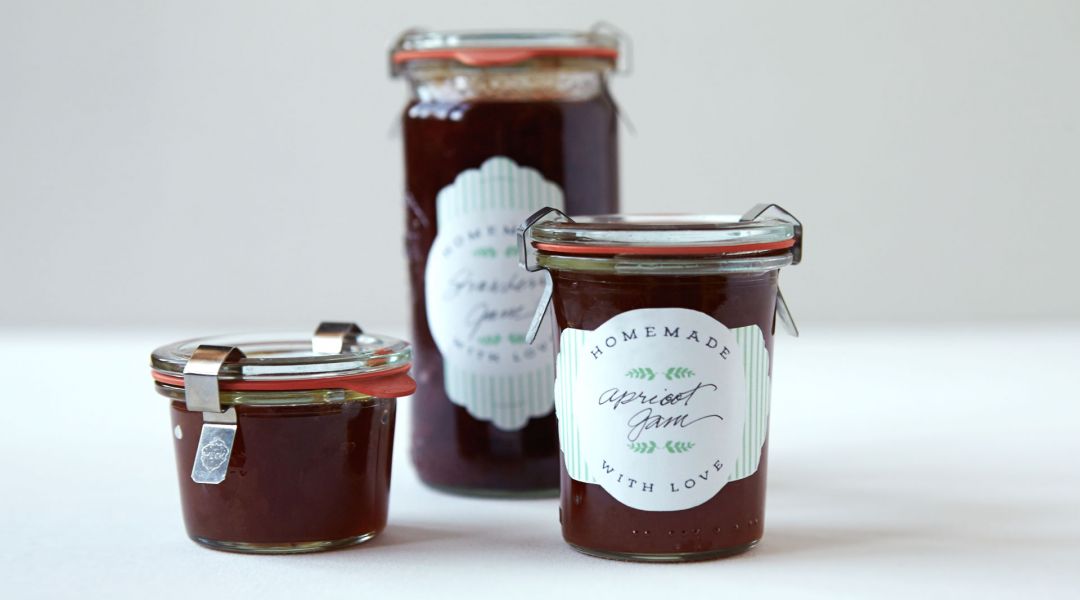
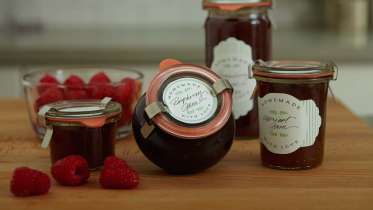
In this class, Lia demonstrates how to create elegant, vintage-style jar labels using a Cricut Explore machine. The Cricut allows you to print, then cut out different shaped labels with effortless precision. Lia shows you how to neatly fill in the labels and apply them to jars of different shapes and sizes. Add these decorative labels to your favorite homemade jam or preserve jars to make a perfect gift for any occasion.
Learn how to:
What you’ll get:
Here’s what you’ll need:
Get the project design file on Cricut.com
- Cricut Explore machine
- Cricut Design Space software
- 12” x 12” StandardGrip Cricut mat
- Cricut spatula tool
- Full sheet ink jet labels
- Computer
- Pen
- Color printer
- Jam jars
Downloads:
- Print then cut labels using a Cricut Explore
- Calibrate your printer with your Cricut
- Apply the labels to jars of different shapes and sizes
What you’ll get:
- Easy-to-follow class by artist and expert instructor Lia Griffith on making cute DIY jar labels
- HD video lessons you can access online anytime, anywhere
- Step-by-step instruction and a detailed supply list
- The ability to leave comments, ask questions and interact with other students


Member Gallery
Browse members' projects from this class and share your own work! Learn how to take great photos here.
Load More
Cricut Crafts: DIY Jar Labels Reviews
335 users recommended this class to a friend
Eileen Bennett
I thought I'd learn how to make the label design, not just cut out labels.
February 4, 2024


