
All levels
|
2 hours 17 min
|
01:00
|
|
04:49
|
|
01:48
|
|
19:39
|
|
23:12
|
|
06:29
|
|
18:35
|
|
16:40
|
|
13:31
|
|
14:11
|
|
18:07
|

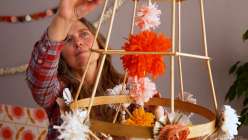
Taught by Mia Semingson of Two Hands Paperie
Start Free Trial or
Buy For $39.95
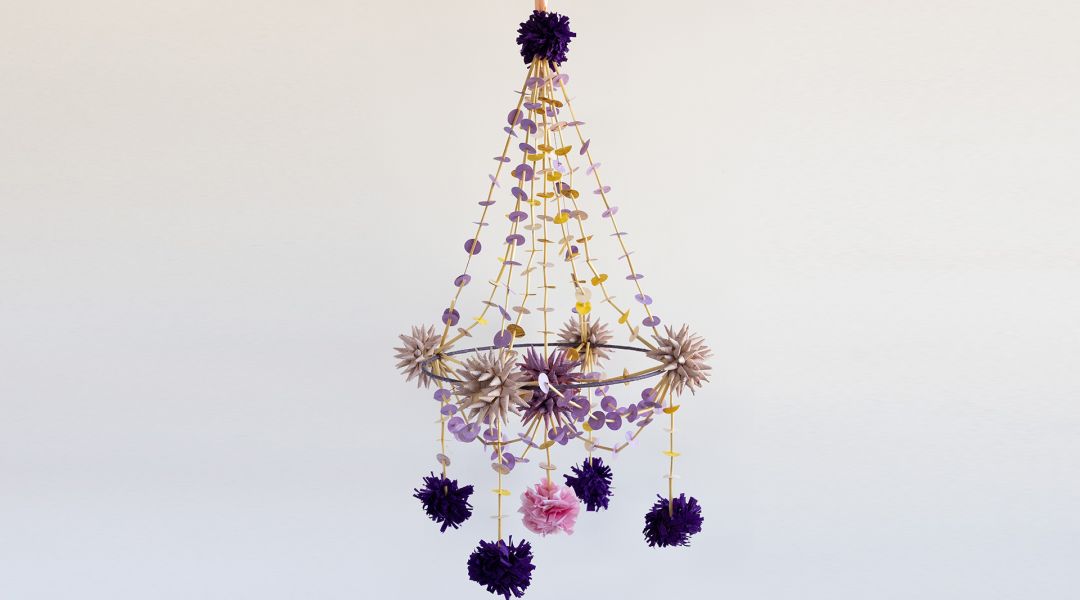
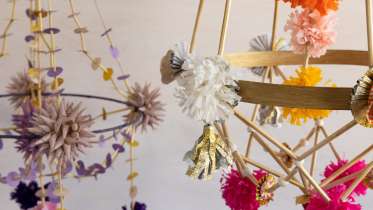
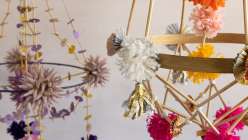
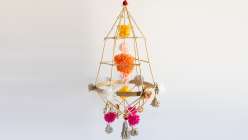
A pajak (pronounced pie-yonk) is a traditional Polish chandelier dating back to the 18th century made of paper and rye straw. Women made them to decorate the home to bring good health and prosperity. Mia Semingson, artist, book binder, and owner of Two Hands Paperie in Boulder, Colorado, shows you how to construct two styles of pajaki (pie-yon-kee) - a traditional structure using traditional rye straws, and a more modern, geometric structure using paper straws. With the right measurements and a little math, you can make your pajak any size you wish. You'll also learn how to create a variety of festive and colorful paper decorations like fringe pom poms, paper cockades, and polish stars or hedgehog stars, as well as fun ways to combine them. There is plenty of room for creativity in this project, and Mia will give you all the skills and techniques to create your own unique paper chandeliers.
Learn how to:
Here’s what you’ll need:
- You can purchase many of the supplies for this class at Two Hands Paperie
- Rye straws (natural- sun bleached) or paper drinking straws - about 50
- Hoop (metal, wood, or 1” flat reed cut to preferred size)
- Optional: craft paint and paint brush to paint hoop and/or straws
- Optional: decorative paper to cover hoop and/or straws
- Papers to make decorations such as cardstock and crepe paper
- Dresden trim
- Waxed linen thread
- Felt balls, large and small
- Thin wire- 24 gauge
- 1.25” split ring (metal key ring) for pulley systen
- Twine for pulley system
- Binder clip for pulley system
- Glue, such as PVA, hot glue, or Tacky Glue
- 1”- 1 ¼” circle paper punch
- Needle nose pliers
- Scissors
- Wire cutter
- Clothes pins
- Heavy duty awl
- Thin awl
- Doll needle or ribbon needle
- Stapler
- Ruler/Tape measure
- Pencil
- Scotch tape
- Compass
Downloads:
- Make pajaki paper chandeliers two ways
- Prep a metal hoop and a flat reed hoop
- Prep paper straws and natural rye straws
- Build a traditional pajak structure and a modern geometric structure
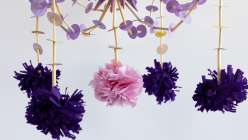
- Make simple paper decorations like pom poms, tassels, roses, and cockades
- Make more complex paper decorations like flower pom poms and Polish stars
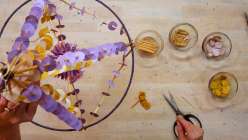
- Plan your pajak design and attach decorations

Member Gallery
Browse members' projects from this class and share your own work! Learn how to take great photos here.
Load More
Make Paper Pajaki Chandeliers Reviews
22 users recommended this class to a friend

Rita Melgert
This is really fun, and I will make one to turn a somber hallway into something more inviting and colourful place. I think I might even use fairy-lights. ^_^.
May 11

Birdie Mertz
This is the first time I have ever learned about pajaki. I enjoy paper crafts and the instructor explains the steps thoroughly and the pacing of the video is nice so you don't feel rushed or feel like you are missing steps.
March 7, 2024
Robin Quickel
What a fun and creative project! Mia teaches with skill and ease; I learned everything I need to create a variety of these beautiful pieces on my own. Will be coming back for tips and reminders on the trickier aspects. Thank you, Mia.
More than 3 months ago
Related Classes