
Advanced
|
2 hours 6 min
|
01:04
|
|
00:42
|
|
09:01
|
|
07:58
|
|
08:02
|
|
03:52
|
|
06:17
|
|
00:57
|
|
00:40
|
|
03:03
|
|
08:02
|
|
04:37
|
|
11:00
|
|
04:25
|
|
09:12
|
|
00:32
|
|
02:03
|
|
07:41
|
|
16:39
|
|
09:31
|
|
02:09
|
|
07:01
|
|
02:26
|

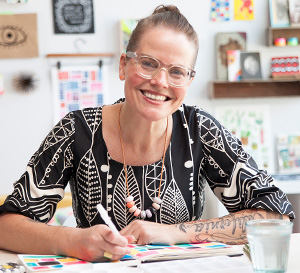
Taught by Sue Nickels
Start Free Trial or
Buy For $39.95
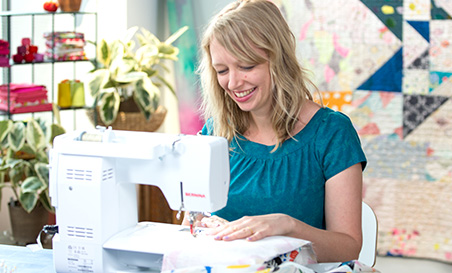
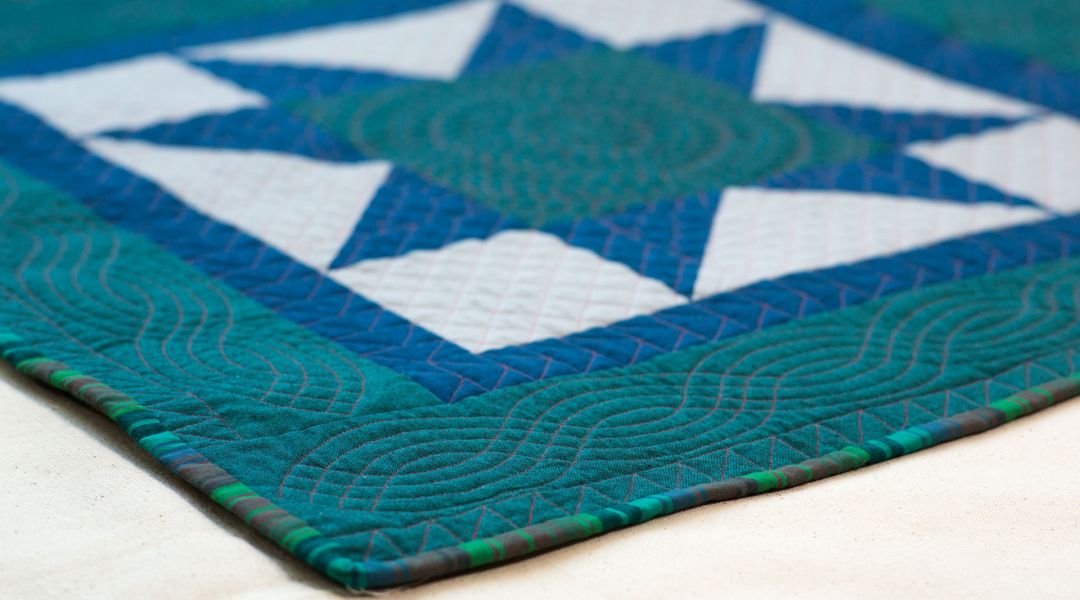
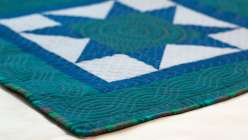
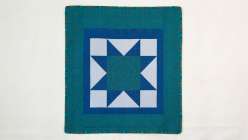
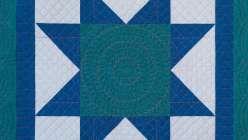
See how expert quilter, Sue Nickels, transforms a traditional Amish quilt top in this three-part free-motion quilting course. Not only will you learn how to design your own quilting patterns, but also how to create templates, trace patterns, and transfer designs to your quilt.. Along the way, you’ll learn a wealth of free-motion quilting wisdom. Whether you’re a seasoned quilter or brand new to machine quilting, you are sure to find this course filled with helpful instruction and inspiration.
Part 2: Marking and Basting
Materials for marking:
Materials for basting:
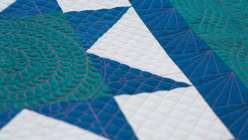
Part 3: Machine Quilting Like a Pro
Learn how to:
Here’s what you’ll need:
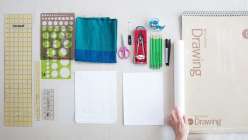
Part 1: Create Your Own Quilting Design
- Assembled quilt top
- Small scale drawing of quilt top
- Large heavyweight drawing paper (18” x 24”)
- Tracing paper
- Copy paper
- Sharp Pencils
- Eraser
- Black marker
- Removable tape
- Compass
- Circle templates
- Template plastic
- Scissors
- Nail file
- Rulers: 24” x 6” and a variety of other sizes
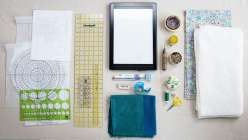
Part 2: Marking and Basting
- Marking pencils (white and silver)
- Hand pencil sharpener
- Light box (can also use a window or an acrylic tray table from sewing machine)
- Pressed quilt top
- Prepared designs
- Scale drawing of designs
- Template plastic and circle template
- Quilting rulers
Materials for basting:
- Size one safety pins (approx.150)
- Kwik Klip
- Masking tape or T-pins
- Tape measure
- Hand-sewing needle and thread
- Thimble
- Marked quilt top
- Batting (cut approximately 2” bigger than quilt top on all sides)
- Backing (cut approximately 2” bigger than quilt top on all sides)
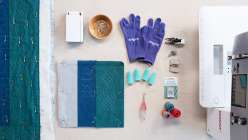
Part 3: Machine Quilting Like a Pro
- Fully marked and basted quilt top
- Sewing machine
- Sharp machine needles (Sue uses size 70/10; use correct needle for your thread)
- Walking foot
- Darning foot (Sue prefers open toe version)
- Straight stitch throat plate
- Cotton thread (bobbon thread should match the backing fabric)
- Snips
- Dish for safety pins
- Good lighting
- Rubber gloves or quilting gloves
- Practice sandwich
Downloads:
- Transform a traditional quilt top
- Design your own quilting patterns
- Free-motion techniques
- Step-by-step expert instruction from Sue Nickels on free-motion quilting
- 20 HD video lessons you can access online anytime, anywhere
- Detailed supplies list and downloadable PDF pattern pieces ($16 value)
- The ability to leave comments, ask questions, and interact with other students
Member Gallery
Browse members' projects from this class and share your own work! Learn how to take great photos here.
Load More
Class PDF
Transcript
Notes
Your timecode tags and notes for this section
Free-Motion Quilting: A 3-Part Series Reviews
974 users recommended this class to a friend

Sharla Jacobs
She was great at explaining everything!
4 days ago

MYHANH KASPROW
Excellent teaching with thoroughly information .
May 4, 2024
Lori Nawyn
I absolutely love Sue's classes. She is knowledgeable, professional, and explains everything in a clear and concise manner. Thank you so much, Sue!
March 9, 2024
Related Classes