All levels
|
11 min 46 sec
|
00:13
|
|
00:59
|
|
01:33
|
|
01:17
|
|
02:23
|
|
01:26
|
|
00:58
|
|
01:57
|
|
01:00
|

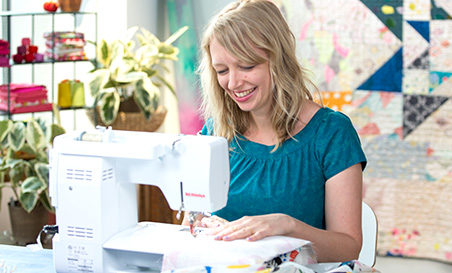
Taught by Christine Schmidt
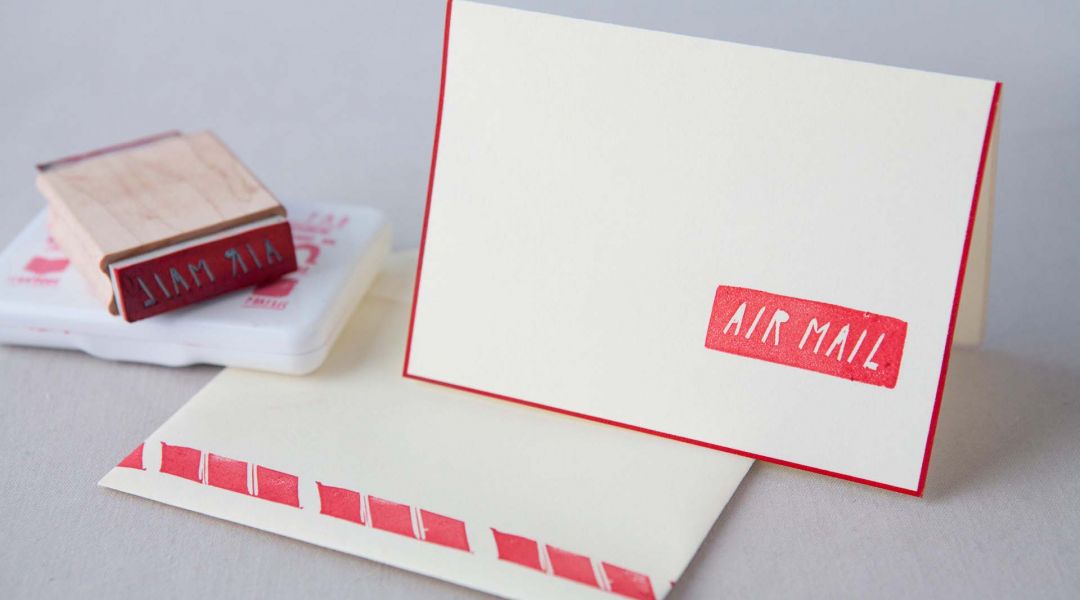
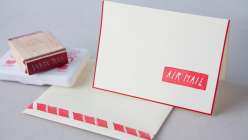
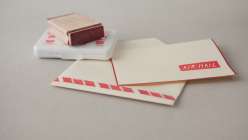
With simple carving tools and your design sensibilities, you can carve a custom set of stamps to add personality and zip to stationery, textiles and more. Christine shows you how to transfer a design and which tools to use, to celebrate the charm and imperfections of printing by hand.
Soft rubber block, such as Speedball or Soft-Kut Linoleum cutter knife Water-based stamp ink pad Pencil Scrap paper Moistened sponge or wet paper towel for cleanup Wood block and super glue (optional) Yellow Owl Workshop's Carve-A-Stamp Kit
Learn how to:
What you’ll get:
Here’s what you’ll need:
Or
Downloads:
- Make custom stamps
- Transfer your design onto your stamp
What you’ll get:
- An easy-to-follow lesson on crafting your own stamp pad
- 8 HD video lessons you can access online anytime, anywhere
- Itemized supply list
- Downloadable PDF pattern included
- Step-by-step instruction by artist Christine Schmidt
- The ability to leave comments, ask questions and interact with other students
Member Gallery
Browse members' projects from this class and share your own work! Learn how to take great photos here.
Load More
Class PDF
Transcript
Notes
Your timecode tags and notes for this section
Carving Rubber Stamps Reviews
493 users recommended this class to a friend

Jeanne Rust
for the rank beginner--it was great ; covered all the bases.
1 day ago
Elizabeth Walker
Direct,clear, and concise. Presenter has great personality. Just what I was looking for. Thanks so much.
April 24, 2024

Mareike Fraider
really great idea
More than 3 months ago
Related Classes